alecstilleyedye
nothing in moderation
- Location
- the post-brexit wasteland
well you can't come third in 'road bike of the month' here yet…

+1
in fact this new vintage section is brilliant. Wasn't it pubrunner who asked for a section like this ages ago, and it was refused on the grounds there wouldn't be enough interest or something?
thanks for the pictures, we really should start a thread for classic bike pictures
+1
in fact this new vintage section is brilliant. Wasn't it pubrunner who asked for a section like this ages ago, and it was refused on the grounds there wouldn't be enough interest or something?
 , he'd have loved this new section.
A couple of pics for you all, if anyone wants a shot of anything specific please let me know.
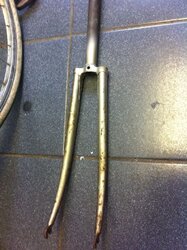
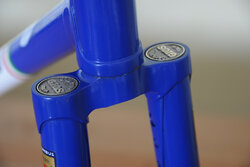
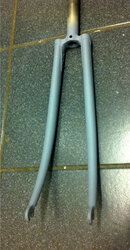
It seems some GIOS are famed to have these rather unique coin emblems on the fork crown. What does your fork crown look like?
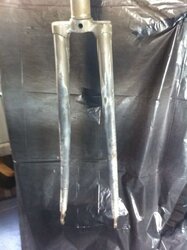
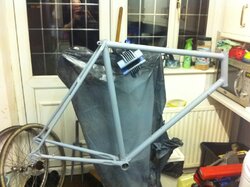
You might also want to weigh the forks and the frame before painting, it might assist tubing identification later, and will also help you set target for a built weight if you so wish.
It appears faked GIOS frames were sold over a certain period, see this and elsewhere.
The company also seems to have split into two, seemingly to bypass litigation/liabilities. The brand seems to have such a history and following however that I suspect if you wish you could get help either from the company or people in the owners club to help you with identification.
Is there no marking on the frame/bb shell etc.?

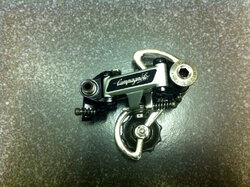
If you're going for Ergo levers you'll still probably want the down-tube bosses. Campag's standard cable stops with adjusters fit there. As others say, take it slowly and do the research, it would be a pity to spoil a frame of that quality. Good luck.

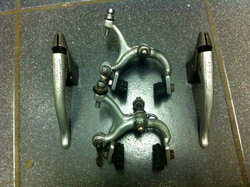
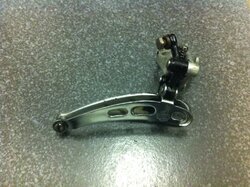
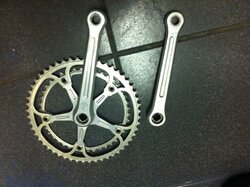
Gorgeous Campag chainset - I've got the same on my old fixed-wheel.Total cost to get it back on the road will be about £30 (and about 50 hours of work). Quite happy with that.
Finally, the old pedals. Are these worth keeping or should I just chuck em? I only use MTB spd's so have no use for them.
are you enjoying the work that you are doing