Richardmulcaster
Regular
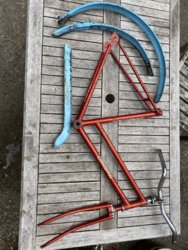
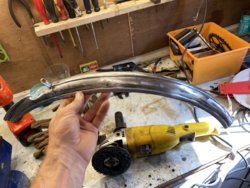
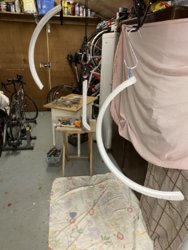
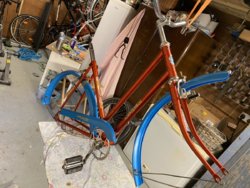
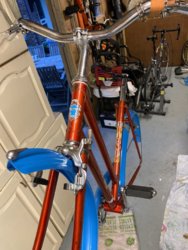
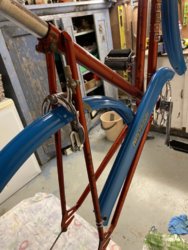
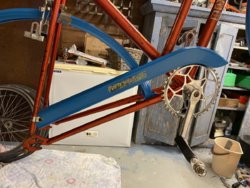
So morning has been spent finishing off taking everything off, then washing the frame, then rubbing down using petrol to remove all old oil and grease. Frame and guards are now clean. Next step is to grind off the old paint and prep for re-spray- that was until the postie Arrived and took an active interest in the project- then ventured an opinion that I shouldn’t be touching the paint, but should only be applying lacquer then putting it all back together.
Humm....
Right, so the blue mudguard paint is on its way, but I haven’t yet ordered the frame paint. So, come on then, I’m inviting opinion here, should I be repainting with the original paint or leaving well alone???
Humm....
Right, so the blue mudguard paint is on its way, but I haven’t yet ordered the frame paint. So, come on then, I’m inviting opinion here, should I be repainting with the original paint or leaving well alone???