Cassette swap.

Page may contain affiliate links. Please see terms for details.

Ajax Bay

Guru
Location
East Devon
Is the 1mm spacer to stop free play in the cassette once the lock ring is tightened?
I’m unsure what (if any) spacer is fitted currently to the Freehub, as it’s on an 8spd cassette just now.
Yes. A 10sp cassette is a mm narrower (counter-intuitively) than an 8sp and 9sp. That spacer means the lockring does not bottom out when tightened (40 Nm - decently not stupidly tight, 6 clicks is my rule of thumb). There will not be a spacer behind the current 8sp cassette.
 
OP
OP
fraz101

fraz101

Senior Member
Yes. A 10sp cassette is a mm narrower (counter-intuitively) than an 8sp and 9sp. That spacer means the lockring does not bottom out when tightened (40 Nm - decently not stupidly tight, 6 clicks is my rule of thumb). There will not be a spacer behind the current 8sp cassette.

So we had a go last night.
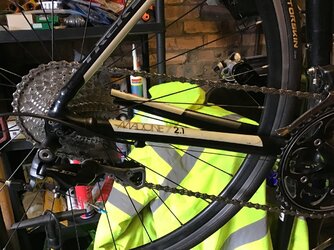
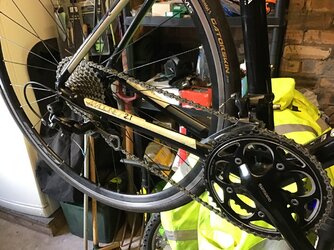
Got the cassette fitted with no problems, it’s an 11speed hub so we fitted 1mm spacer, all good.

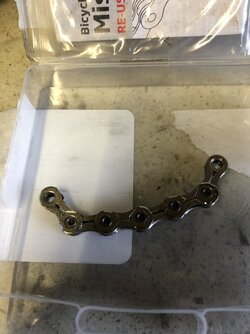
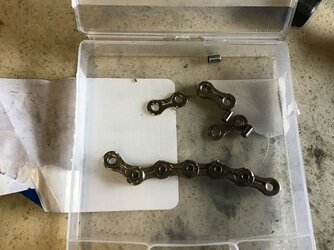
However we have cut the chain too short and it will not shift into big cog/big cog (would never ride like that anyway but it’s annoying) We sized the chain using big/big plus master link as per GCN YouTube guide,but alas it’s too short.
Rest of shifting is perfect…. We are inclined to leave it. But if we wanted to rectify,apart from a new chain what could we do, I’ve never re added links before.
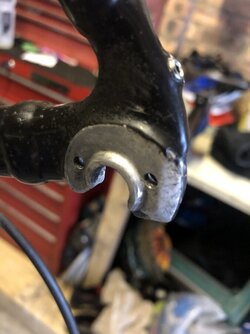
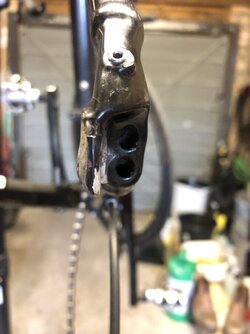
Pics for confirmation of what we have.
 

Attachments

  • 8A8CD6EB-77FE-4E45-B345-9C25489364C0.jpeg
    8A8CD6EB-77FE-4E45-B345-9C25489364C0.jpeg
    224.4 KB · Views: 5
  • D40F3F5E-3FAC-4BA5-81FE-393628255CE0.jpeg
    D40F3F5E-3FAC-4BA5-81FE-393628255CE0.jpeg
    234.2 KB · Views: 5
  • FF4BD6DD-542E-4E39-AEEB-3B7198923440.jpeg
    FF4BD6DD-542E-4E39-AEEB-3B7198923440.jpeg
    163.6 KB · Views: 5

T4tomo

Legendary Member
Just add a link (from this bits you lopped off) using another quick link.
That's quite obvious isn't it?
Leaving it like it is currently is a boych that's risking knacking a derailleur and bending your mech hanger.
 
OP
OP
fraz101

fraz101

Senior Member
Just add a link (from this bits you lopped off) using another quick link.
That's quite obvious isn't it?
Leaving it like it is currently is a boych that's risking knacking a derailleur and bending your mech hanger.

So to add a link and a missing link…..excuse my inexperience here but from what I have here how do I go about it.
 

Attachments

  • 335107E9-0FD8-4DCA-8A68-E8D10E16A428.jpeg
    335107E9-0FD8-4DCA-8A68-E8D10E16A428.jpeg
    81.4 KB · Views: 1

T4tomo

Legendary Member
So to add a link and a missing link…..excuse my inexperience here but from what I have here how do I go about it.
Remove current quick link.
You have two narrow "ends"

Pop a pin or two out of spare chain length pictured to give you another "narrow" link

Using original quicklink and a friend reassemble:
end of chain /QL /new narrow link /QL /other end of chain.
Hey presto your chain is longer
👍


Edit to add the bleeding obvious of thread the chain properly, particularly the routing through the RD, before you close the final QL 🤣.
 
OP
OP
fraz101

fraz101

Senior Member
If the 8sp cassette fitted (and locked) with no spacer, it's not an 11sp freehub. If there was a spacer already there, and you added a 1mm spacer; fine - 11sp.

It’s definitely an 11 speed hub (it’s stamped on the splines.

The 8 speed cassette had a spacer fitted.
 
OP
OP
fraz101

fraz101

Senior Member
Remove current quick link.
You have two narrow "ends"

Pop a pin or two out of spare chain length pictured to give you another "narrow" link

Using original quicklink and a friend reassemble:
end of chain /QL /new narrow link /QL /other end of chain.
Hey presto your chain is longer
👍


Edit to add the bleeding obvious of thread the chain properly, particularly the routing through the RD, before you close the final QL 🤣.

Do you think one inner link will be enough? I guess i can try and if not it would need to be 2 inners and 1 outer (3 in total) ?

Edit- one inner link was enough.

Fitted and all good now. Thanks for all help/replies
 
Last edited:
OP
OP
fraz101

fraz101

Senior Member
And check the rear derailleur hanger before setting up the gears - from the photos it looks bent?

So you seem to have been correct.

First real ride out on the bike yesterday and a clicking noise appeared around 20 miles in.
When we got back we had a look.

There are 2 bolts holding on the rear mech hanger bracket,took the back wheel off and we found the hanger bracket loose and only held on by one bolt. We could not get the bracket to sit flush on the frame enough to even get the other bolt threaded, it threads fine when on the bench.

He has ordered another bracket.

I wanted to ask how often is it the frame and not the bracket thats bent?
 

Attachments

  • CDF5C9CA-134A-4C63-B382-75A2A5C42B26.jpeg
    CDF5C9CA-134A-4C63-B382-75A2A5C42B26.jpeg
    70.7 KB · Views: 2
  • 2CA1CEEE-5815-4A03-B39C-C9AAB6374C4A.jpeg
    2CA1CEEE-5815-4A03-B39C-C9AAB6374C4A.jpeg
    68.1 KB · Views: 2

Roseland triker

Cheese ..... It's all about the cheese
Location
By the sea
I wanted to ask how often is it the frame and not the bracket thats bent?
It's common for dropouts to be out of alignment.
Re-align the dropouts using tool , check frame alignment from head tube to rear hanger each side making sure that the contact on the seat tube is equal.
Then fit rear mech hanger. Put wheel in and align mech hanger with tool.
Then fit rear mech setting up accordingly.

Done a few over the years and have had good results getting frames straight and running true.

When the back end is out of true then it crabs resulting in back/ neck ache
 
Top Bottom