bikesnthings
Regular
Hello everyone, I posted a few weeks ago about a frame I received, a Trifox X16 carbon road frame. I've slowly been building it up these last few weeks and it's done now, so I'd like to share the build process.
The components I ended up putting on the frame are:
- Shimano 105 R7020 hydraulic groupset
- Elite Wheels 38MM carbon wheels
- OG EVKIN handlebar and stem
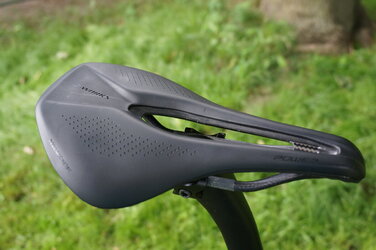
and other assorted components like pedals, bottle cages and saddle.
It took me around 2 weeks or so to build, working at a relaxed pace. Approximate cost breakdown is around $2300 USD, with the groupset costing around $700 USD, frame being around $750 USD, wheels being $400 USD or so and the assorted parts making up the remainder of the cost. I sourced the groupset used, since hydraulic 105 groupsets seem to be sold out everywhere so your costs may vary if you decide to build something similar.
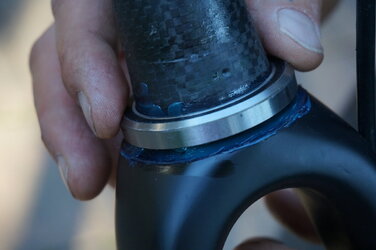
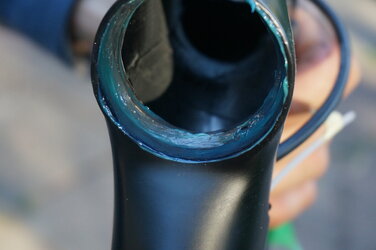
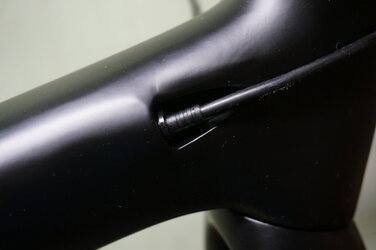
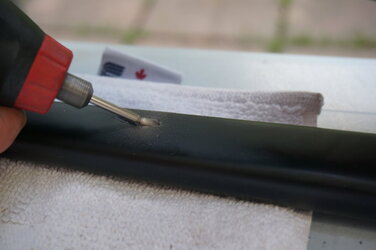
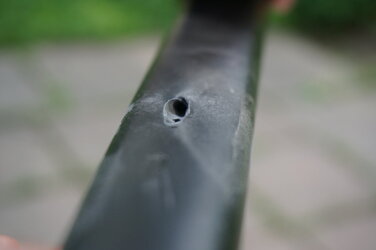
The build process was relatively smooth, although there were a few hiccups here and there. The hole for the rear hydraulic hose was finished improperly and filled with paint, so I had to go at it with a rotary tool to remove it. This was also the case on the hole for the hydraulic on the fork.
Overall, I'm quite satisfied with the build, and the bike turned out pretty good with little complications along the way. I haven't ridden it that much so I can't really remark on the ride quality but from my brief impressions it feels good.
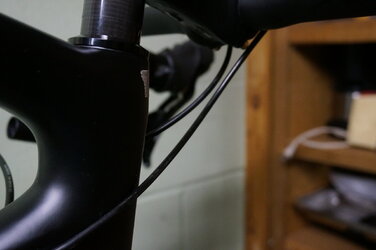
Marking roughly where I want to cut the steerer.
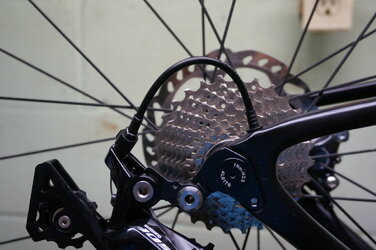
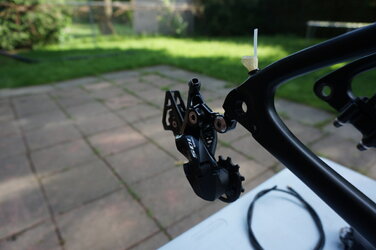
Installing the rear derailleur.
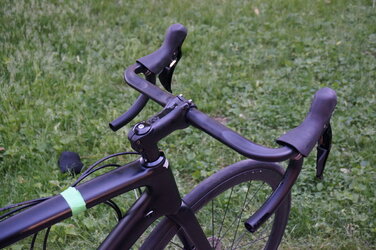
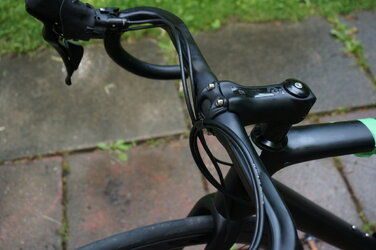
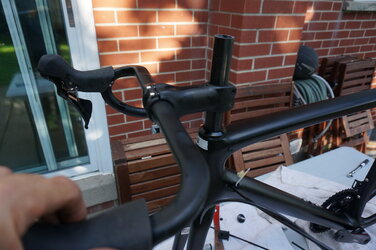
Shifters installed on the handlebar, along with the handlebar being properly aligned.
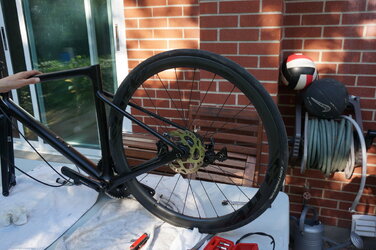
Running the hydraulic hose for the rear brake, and installing the wheel for a rough fit.
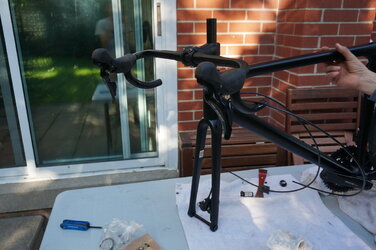
Front hydraulic hose and brake.
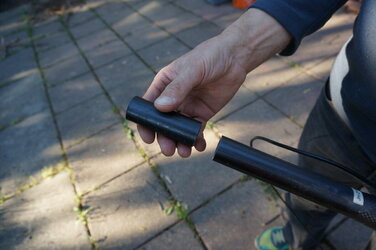
Cutting the steerer. We used a relatively standard hacksaw blade with a cutting guide (standard wood one) and clamped the steerer in position. Turned out quite well and with little fraying. We used a little clear nail polish to finish it off, just to avoid any fraying fibres.
Continued in a separate reply down below because I can only put 10 pictures in one post.
The components I ended up putting on the frame are:
- Shimano 105 R7020 hydraulic groupset
- Elite Wheels 38MM carbon wheels
- OG EVKIN handlebar and stem
and other assorted components like pedals, bottle cages and saddle.
It took me around 2 weeks or so to build, working at a relaxed pace. Approximate cost breakdown is around $2300 USD, with the groupset costing around $700 USD, frame being around $750 USD, wheels being $400 USD or so and the assorted parts making up the remainder of the cost. I sourced the groupset used, since hydraulic 105 groupsets seem to be sold out everywhere so your costs may vary if you decide to build something similar.
The build process was relatively smooth, although there were a few hiccups here and there. The hole for the rear hydraulic hose was finished improperly and filled with paint, so I had to go at it with a rotary tool to remove it. This was also the case on the hole for the hydraulic on the fork.
Overall, I'm quite satisfied with the build, and the bike turned out pretty good with little complications along the way. I haven't ridden it that much so I can't really remark on the ride quality but from my brief impressions it feels good.


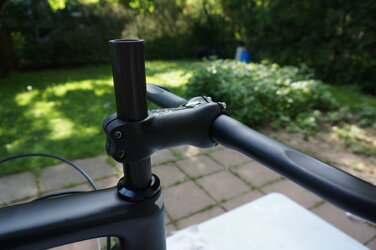
Marking roughly where I want to cut the steerer.

Installing the rear derailleur.

Shifters installed on the handlebar, along with the handlebar being properly aligned.

Running the hydraulic hose for the rear brake, and installing the wheel for a rough fit.

Front hydraulic hose and brake.

Cutting the steerer. We used a relatively standard hacksaw blade with a cutting guide (standard wood one) and clamped the steerer in position. Turned out quite well and with little fraying. We used a little clear nail polish to finish it off, just to avoid any fraying fibres.

Continued in a separate reply down below because I can only put 10 pictures in one post.
Last edited:

