Ming the Merciless
There is no mercy
- Location
- Inside my skull
New gear cable outer due to be delivered today. Hoping it is early enough that I have time to fettle ahead of tonight's social ride (on diff bike)

Saw this idea on the front door of a bike shop in France. I managed to pick up a nice Cannondale Si crank which had a stripped thread for next to nothing, so decided to fit it in my sons bedroom.
I used some cut down pieces of seat stem to space it, and some smaller spacers I had lying around In the garage. It’s secured with a coach bolt.
View attachment 493720
View attachment 493721
View attachment 493722
I was also told that if your shoes squeak it means you haven’t paid for them!
and if you wear though the soles of your shoes before the rest wears out you will live to spend all your money.Hell my dad has come back to haunt me


 I removed both hoses and fittings and then cleaned them thoroughly. The Methanol's brakes use Dot 5.1 and the Pilot's use mineral oil. Popped the 90 degree fitting on to the Pilot and bled the brakes through with my mineral oil kit... Overall a good fettle!
 Not sure why it had gone spongy but I'll keep an eye on it.
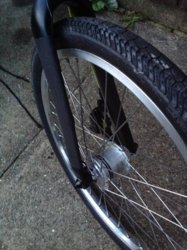
I've clipped the rear brake hose to the frame using the supplied fixings. I've added the disc rotor to the front wheel, removed spacer and fitted front disc pads, aligned caliper via loosen bolts, apply brake, tighten bolts, and also adjusted wheel bearings as slightly too loose.
Now having a break and lunch.
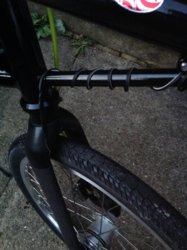
After lunch. Cassette and disc rotor on rear wheel. Fit rear derailleur. Fit chain. Cut final length of gear cable outer, clamp inner cable and tune rear derailleur.
Then new recumbent build will be complete. First test ride tomorrow as that fits better with my wife's plans.